Friday, July 21, 2017

DIY Serving Platter and Labels

I love to bake for others: Holiday family parties, a group of friends, and especially for an event. This past spring, I volunteered to help make cookies for my alumni's Intervarsity Christian Fellowship coffee house event. I was only asked to make a few dozen, so this was a small bake compared to my yearly Christmas cookie escapade. I chose the classic Chocolate Chip, and also some unique but tasty flavors, Cereal Snaps and Cranberry White Chocolate. Baking the cookies was not my obstacle this time. Instead, I struggled with how to display these cookies when I take them to the event.

My husband and I are not huge entertainers, so we did not register for any type of serving platters or trays when we got married. Not much has changed, and it is physically impossible to host more than a few people at our place, so I have never been concerned with buying trays. For this, I needed something bigger than a plate, but nicer than a baking sheet to display these cookies.

Every Christmas, my grandmother used a simple solution to her displays. She had many serving trays, but to eliminate dishes yet add some decoration, she placed Christmas-themed napkins on the trays. I do have some plain napkins, but napkins would not hide the sides of a worn baking sheet. Something I do have is tissue paper. Lots and lots of tissue paper.
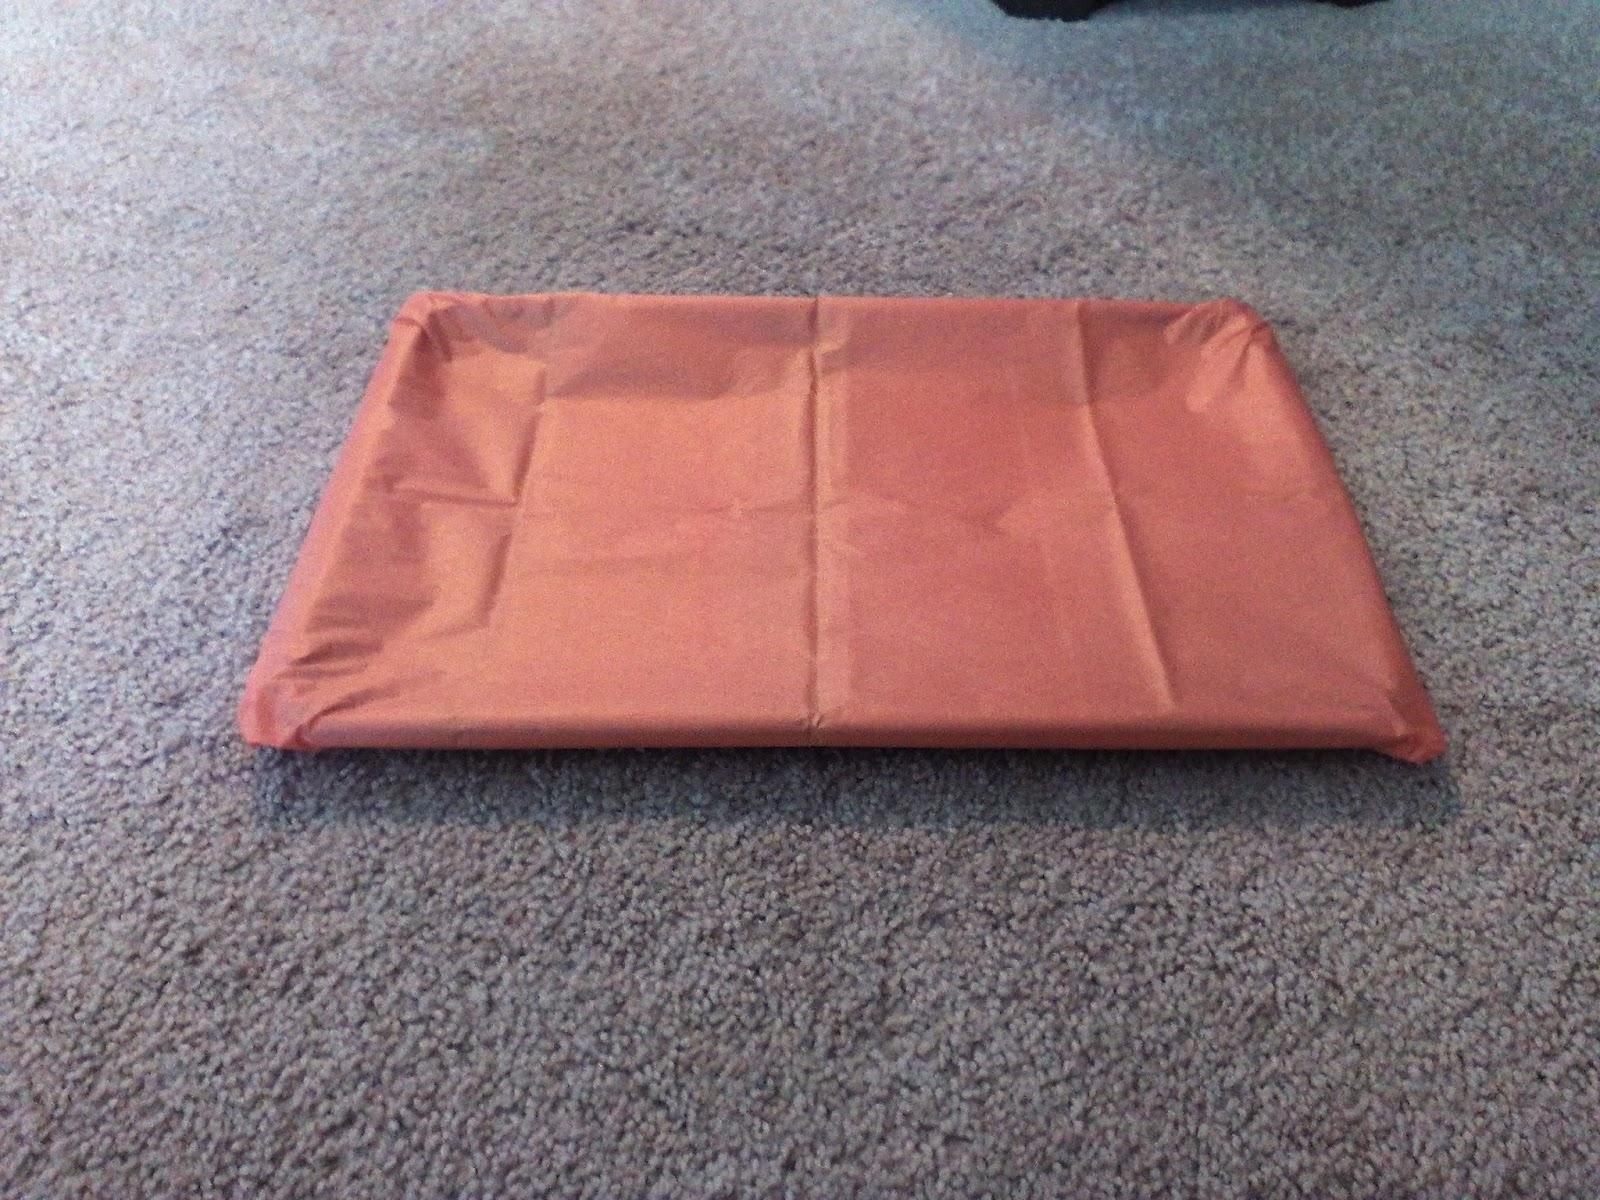
Materials: Baking sheet, tissue paper, tape
Most of this tissue paper I have came from our wedding gifts. It's the signature swirl of Bed Bath & Beyond wedding tissue paper that I saved, thinking I could re-use it for future weddings. Well, 3 years later, and I still have tons of tissue paper. I briefly thought about using this paper, because it is not clearly a wedding-theme unless you recognize it. And let's be honest, as a college student, I had no idea it was wedding paper until I received tons of it for my wedding. But I did some more digging and found an odd color that I most likely would never use. 

I wrapped the baking sheet just like a present, starting with it upside down. I stuck my fingers underneath the baking sheet before I taped each time to press the paper against the inside edge and taped it loosely. Otherwise, the tissue paper would be so tight, it would elevate the cookies off the baking sheet. I didn't worry about the bottom, because it would not be seen. 

The baking sheet only held 2 of my 3 types of cookies, so I needed something smaller than another baking sheet. I chose to use a large plate, but wanted the plate to match the baking sheet. I attempted to wrap the circular plate as a present as well. Anyone who attempts to wrap something circular for Christmas knows how hard it is. But remember, it doesn't have to be perfect! Keeping some sharp edges is okay for this. Trust me, people aren't looking that close at what the food is on...they're looking at the food! 

To transport, I wrapped the trays in saran wrap. 
Something to think about when preparing your trays: If you put the cookies (or any food) on the tray too far ahead of time, be aware there may be a small oil stain by the time you eat. I put my cookies on  about 10 hours ahead of time, and when the cookies were gone, there was an oil stain the size of a quarter or larger. So just be aware that the tissue paper is going to absorb food oils. 
I couldn't even get a quick picture before they started disappearing!

One other touch I always add when displaying more than one type of food is labels. I find that people are more willing to try a non-typical cookie if they know what it really is! All you need is a toothpick, marker, and any type of scrap or colored paper. I am glad I did this because one of the first people that saw my cookies before I had the labels up asked if my Cereal Crisps were peanut butter. (FYI: Cereal Snaps don't have any peanut butter). Imagine the number of people that might have thought that as well, thus not trying it. Save the confusion, label it!

I felt confident taking my cookies to the event on these DIY trays, and the cookies were a hit! 

Update: You can use these platters for almost any type of dessert or snack. For my sister-in-law's bridal shower, I used it for cheese and crackers! I bought a small amount of colored tissue paper that matched her theme and....viola! No dishes to wash, and it looks great! 


SaveSaveSaveSave

Sunday, March 5, 2017

Deviled Eggs- DIY Plate and Piping Tool

Making deviled eggs has always sounded intimidating to me. I have never made them before, but love to eat them. I just assumed it took something fancy to pipe out the yolk and to carry them in because that is how I always saw them. However, I was struggling with an idea to take to a Super Bowl party this year, and decided to tackle my fear for the good of all who love deviled eggs. 

Living in an apartment for several years now, I maxed out my kitchen drawer space long ago. I despise the idea of buying all these kitchen gadgets just for one recipe. So I wanted to find a way to make these without all the fancy gadgets. I was able to make several adaptations, specifically in how I piped out the yolk and how I transported/displayed them. Therefore, I will not post a recipe in this post, as it will work with any recipe. 

Deviled Egg Plate Substitute
The first issue is what to carry and display them in. My first thought was a 9"x13" dish. However, when I tested it out with a few empty egg cups, it proved to be messy and they slid everywhere. I didn't want to chance tipping the container and making a mess of them before they even got to the party. So I tried to think of something that I could place on the bottom of the dish to prevent it from sliding. 
Place cling wrap with wrinkles on the bottom of the pan to prevent the eggs from sliding.
Mine could have used more wrinkles as some eggs slid between the wrinkles.

My final result: Cling wrap that is intentionally wrinkled. Even when the eggs were a bit wet (from rinsing them), they caught on the wrinkles, preventing them from sliding. It also does not take away too much from the clean look as a paper towel or tin foil might. 
No slide!
Piping Tool Substitute
The second issue is the most obvious issue. There are many tools out there that help you to make a beautiful design with your yolk filling. Although that is something I think I would really enjoy, the tools are often large and I did not gain any space in my kitchen since writing the intro to this post. 
This is an issue that many bakers encounter if they just do an occasional icing recipe here and there and do not want to spend the money on the fancy icing bag. The most common DIY tool for this instance is a good old ziplock bag. 

I cut a very small corner off the tip of a small ziplock bag, turned it inside out over my hand, and scooped the yolk filling into the bag, turning it back so I could squeeze it out.


This was about 1 second before the
plastic tip blew through the bag!

A funny experience accompanied this experiment. I had the brainy idea to use a plastic fancy tip that I saved from a Christmas icing bag several years ago. I decided to try to use it with the ziplock bag (you can see it in one of the pictures). However, when squeezing the bag, the thickness of the filling pushed the fancy tip right through the bag hole, leaving me with quite a mess of filling. Luckily I didn't have to waste any of it and just scooped it back into the bag. I am thinking that the sturdiness of an actual icing bag might be worth the money if you want to try any fancy tip 😂 


I did a comparison of looks in which I used a spoon, the ziplock bag, and the fancy tool which I borrowed from a family member. Obviously you can see which is the prettiest to use, but you can also see that it is easy and creates a smooth look to use a ziplock bag.  
Left 2 eggs: spoon; Middle 2 eggs: ziplock bag; Right 2 eggs: fancy tool

Both of the adaptations that I made to the deviled eggs worked perfect for me. They were a huge hit, and didn't make a mess getting there. I didn't have to spend any money or store new tools in my laundry room (the only place of storage for anything right now). Once I get my own kitchen with more storage, then I will probably invest in at least one of the tools as long as I continue to make them for social gatherings. The tools and gadgets of today often make food look clean, fancy and easier to make. But sometimes you just have to be practical. And that's what this blog is all about. 
Enjoy!